

Supplies Needed:
PSP: I used PSP9, but any version should do.
Kit of Choice: I used My Dotty Valentine by Gimptastic Scraps. You can find where to buy it here.
Tube of Choice: I used a tube by Ismael Rac. You can find it here. Please do not use without the proper license!
Font of Choice: I used I used Sacramento. You can find it here.
Let's get started!
New canvas 600X600
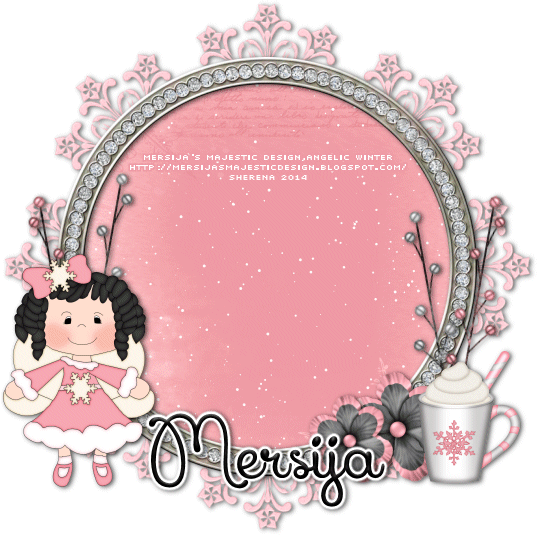
C/P Frame1
Resize 65%
Select inside with magic wand
Expand by 3
C/P paper of choice under frame (I used Paper3)
Invert selection, delete & deselect
C/P tube
Resize if needed
DS frame & tube
C/P elements of choice
I used the following:
Love- resize 80% & move to left; duplicate & move to right; merge together
Scatter- resize 75%, duplicate & mirror; merge together
Heart1- flip
Cupid- resize 45% & mirror
Telephone- resize 55%
HeartCandies- resize 35%, duplicate & mirror
Present- resize 45%
Rose- move to left, duplicate & mirror
Lips- resize 45% & add noise
DS elements
Crop & resize
Add name, copyright & words of choice
Save as .png & you're done!
I would love to see your results! If you would like to share just send them to me: sherenassweettreats@yahoo.com


